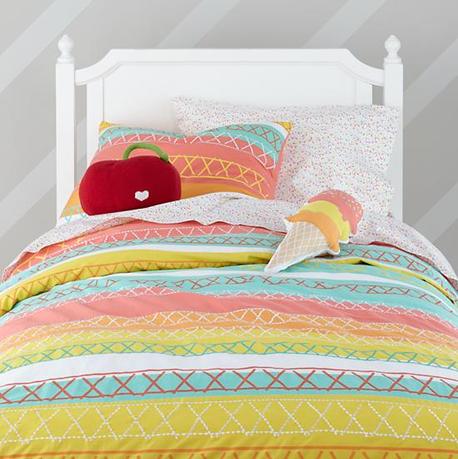
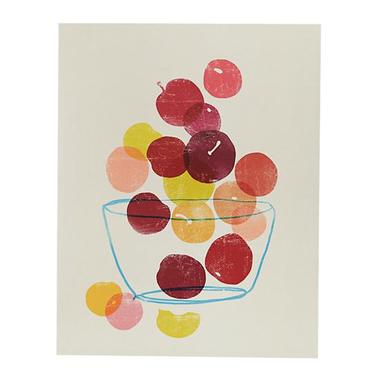
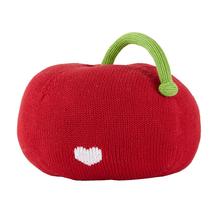
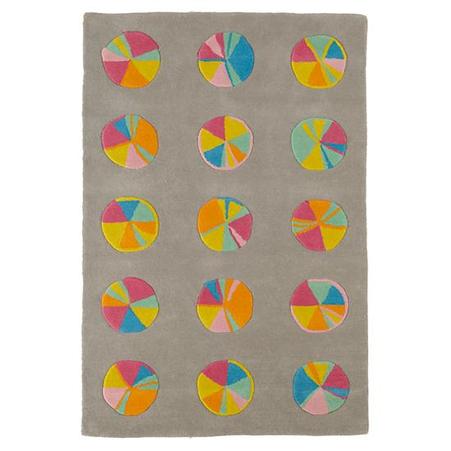
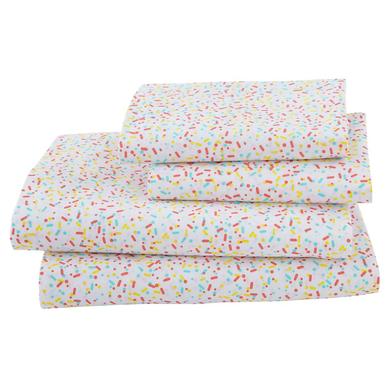
There is a way to decorate kids' spaces without being too juvenile or relying too heavily on characters that your children are likely to outgrow by the time you wash the sheets for the third time. Buying designs that can or will grow with your child is also economical because the pieces you select will have more longevity. (Though I do still have my twin-size Rainbow Brite fitted sheet, circa mid-80s. That's right, be jealous.) And just because something is for a kid's room doesn't mean it has to be bought at a kids' store. I also believe the reverse is true. There are several products from Land of Nod that I would buy for myself, especially from their insanely good lighting department. In my opinion, the best way to design kids' spaces is to include bright colors, graphic shapes and patterns, soft things to snuggle, and a sense of whimsy. The Oh Joy! for Nod collection has all those elements: Bright sherbet-y colors, oversized designs like a sweet cherry pillow and pinwheels on a rug, and adorable sprinkles-patterned sheets (like Joy Cho's daughter, the too-cute Ruby, my older daughter is huge on ice cream and sprinkles). The line launched yesterday and is inspired by both Ruby's interests and Joy's aesthetic with an emphasis on playfulness. While the majority of the products are geared toward young children, there are many pieces that will grow with them, and some, like the lamp below, that will appeal to adults regardless of parental status. The partnership between Joy and Land of Nod has produced two bedding collections, four lamps, pillows and soft toys, a rug, and a selection of curated art prints. Here are my 5 favorite pieces from the collection:
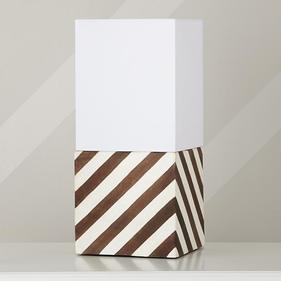
Modern Cube lamp shade & base
0 Comments
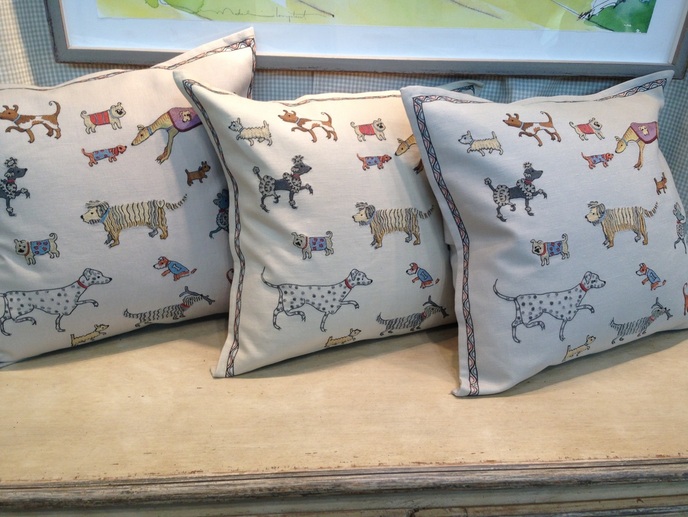
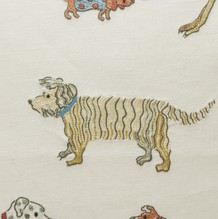 Whether you are a devoted dog lover or just a really big fan of Go, Dog. Go! (as I am), you'll probably love this totally adorable cushion from Chelsea Textiles. This hand-embroidered cushion is designed by Scottish artist Domenica More Gordon on linen and cotton. It's high end, so not a cheap throw pillow, and too cute not to share! There are a few other styles available, as well. Take a look at More Gordon's website, as it has images of her adorable wool felt animal figurines, watercolor dog portraits, and other whimsical drawings and illustrations, as well as charming video clips introducing her books, Archie, which came out a few years ago, and Archie's Vacation, which is officially available tomorrow, but you can pre-order today. top image my own, bottom image via chelsea textiles
Xx a 
In one of many procrastination breaks late last night (I'm on deadline again), I finally signed up for Instagram. I've had the app on my phone for probably two years, but never registered. It wasn't that I didn't find the app interesting or valuable, it's just that sometimes I get overwhelmed by how many things there are to register for and sign up for. Websites that you have to register with to see the content kind of drive me crazy. Does that happen to you? Thank god for password keeper apps. I was the same way when I had to go from Friendster > MySpace > Facebook. I really resisted Facebook. I was good about limiting my time on there in the beginning. Now I'm checking my feed pretty often. I'm not sure how consistent a Intagrammer I'll be, but I definitely want the infusion of inspiration. So that's where you come in: What's your favorite Instagram account to follow? Leave it in the comments!Help a girl by leaving your own account or your favorite accounts to follow, and I'll check them out. And if you follow me, I'll try to keep it interesting! Find me at instagram.com/xxabl - I'll start posting as soon as I finish my article.
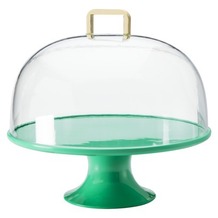
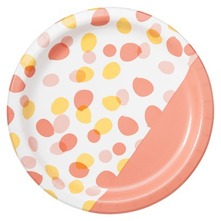
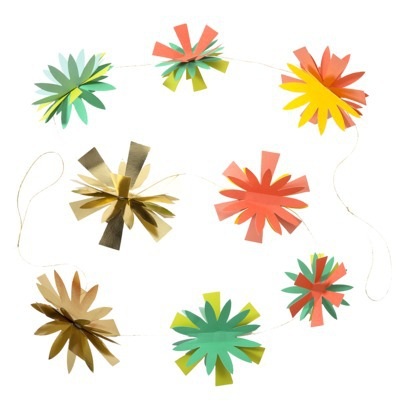
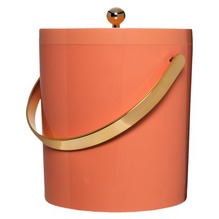
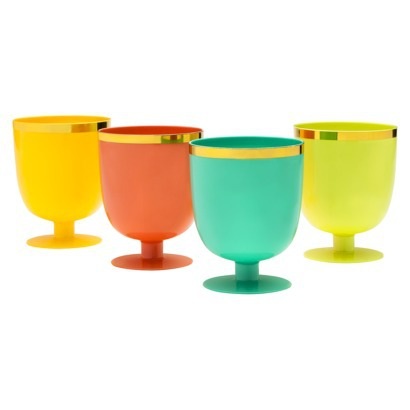
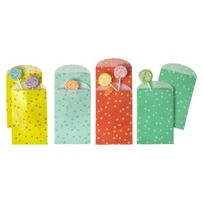
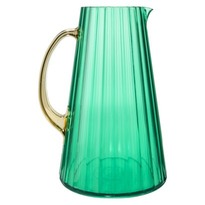
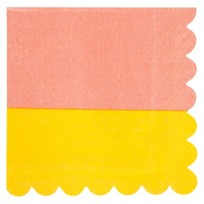
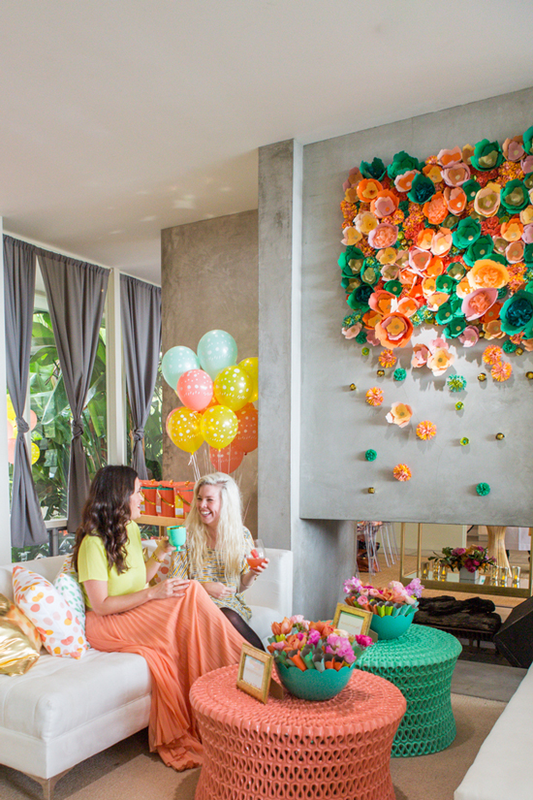
image via thepatterns.info Xx a 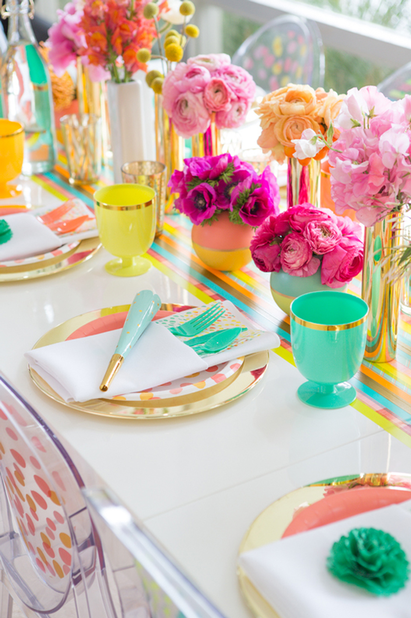 I'm not the first person to be excited about Oh Joy!'s collection for Target, which just launched, and I certainly won't be the last. I have to say in all honesty, that Joy Cho is probably my favorite blogger of all right now (I even bought her book on my Kindle so I could learn more about blogging as a business, now if I could just find time to read it). In addition to having an insanely attractive family (I want to have a playdate with our daughters), her taste is fabulous, and she seems so down-to-earth and real; she's very positive, but she isn't afraid to peel back the layers and share her hectic reality. Somehow it was comforting to know that Joy struggles with a lot of the same things I do; you always know other parents feel the same way but it's reassuring to hear it anyway. Her collection for Target is really lovely and feels very much "her"—as much as you can know someone from reading their blog, it feels like an accurate translation of who she is and her style. The products are very cheerful and feminine, and the shots from her LA launch party have so many great entertaining ideas and decor moments in them. The paper goods are adorable, but I especially love the entertaining pieces that have more longevity. The collection includes more paper goods, cutlery, decor items, cake toppers, and balloons.
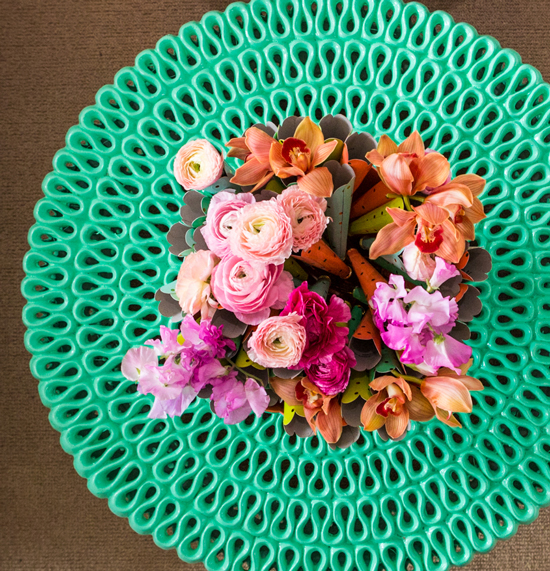
The launch party in LA was intended to be an outdoor garden party, but rain drove them inside. I don't think the party lost much of anything by being indoors. There are so many great and easy entertaining ideas that I'm actually planning to blog about them tomorrow for my other job at the event planning company. But decor-wise, here's something I loved. We've seen this cocktail table around for years, but it's always in white. How fresh does it look in color? I love how they painted the tables to coordinate with the collection.

I like random silly holidays like Pi day, and I have a sweet tooth, so I like pies, too. For fun, I thought I'd share the recipe for my most favorite pie of all: the grasshopper pie. If you never had it, it basically tastes just like frozen Thin Mints. Read: Amazing. I've been making this recipe since 6th grade and it's delicious and easy to make. Enjoy! grasshopper piecrust: 1 1/4 cup fine chocolate wafer crumbs 1/2 cup of butter, melted OR 1 premade Oreo cookie pie crust (I've done this the last few times I've made it) filling: 1/2 cup milk 1 cup heavy cream, whipped 20 marshmallows (regular size) 3 tablespoons creme de cacao 3 tablespoons creme de menthe green food coloring -If making the crust, combine wafer crumbs and butter. Blend and shape to pie pan, chill in pan till solid. -Heat milk in double boiler, add marshmallows and stir until melted. Cook thoroughly. -Combine whipped heavy cream, creme de cacao, creme de menthe and a few drops of green food coloring. -Fold into cooked marshmallow mixture. -Pour into chilled crust and chill pie until firm. Serve cold. I don't usually add anything to the top, but before it's chilled completely, you could add cookie crumbles, or if you want to be fancy, drizzle or shave chocolate on top. image via simply recipes Xx a 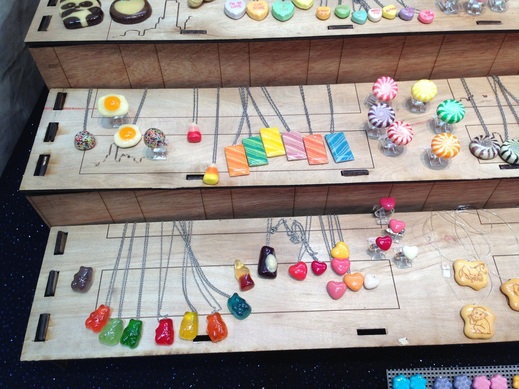
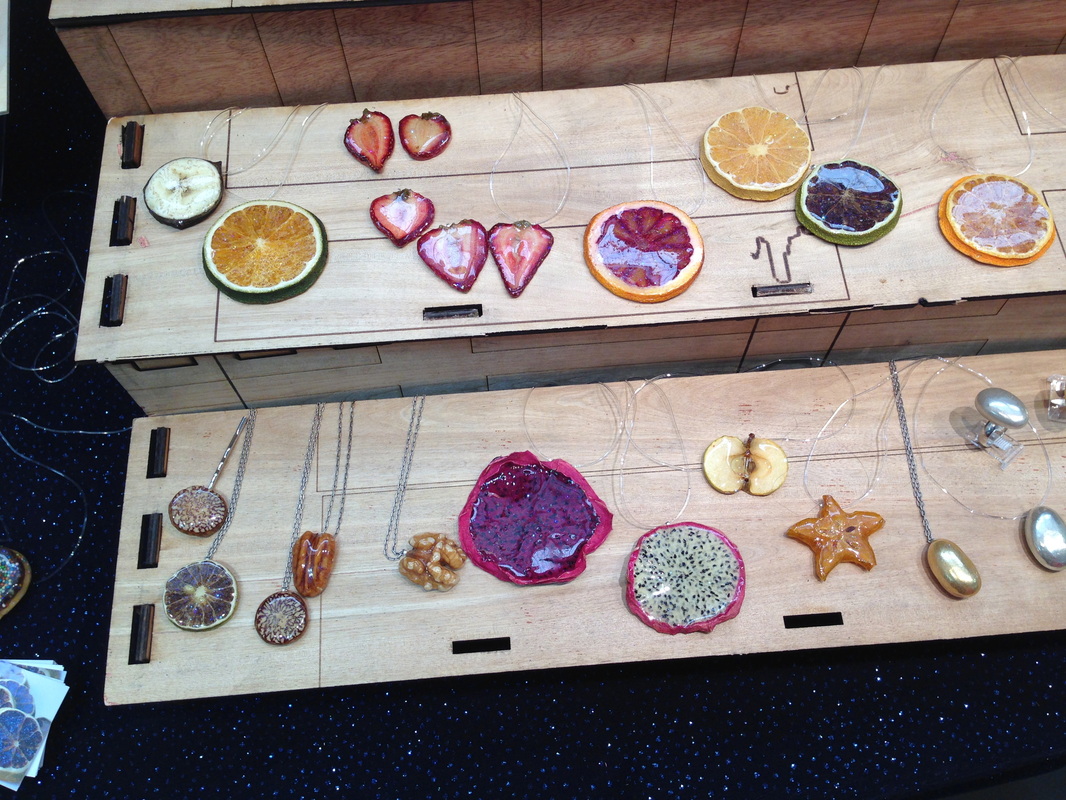
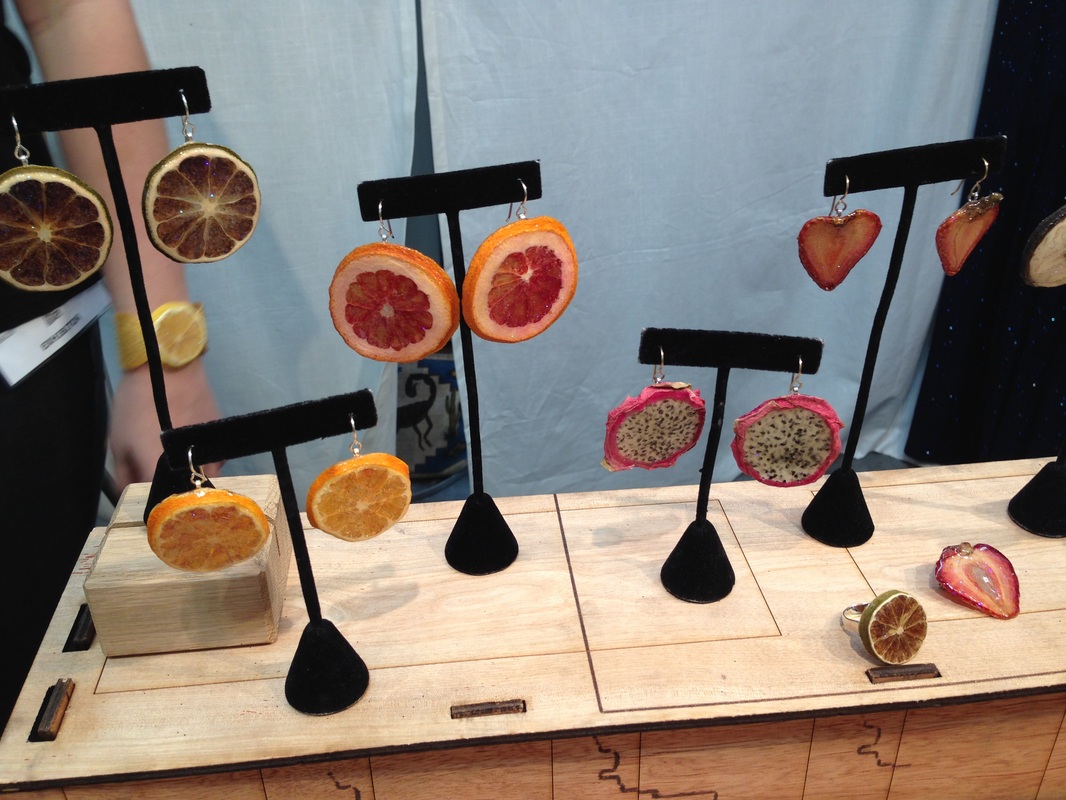
When I was in high school, I really wanted to take the rainbow marshmallows from Lucky Charms, coat them in something clear and make a necklace out of them. Many moons later, someone has done nearly that. Glitterlimes artist Debbie Tuch takes real candy and fruit and encases them in glitter resin. Real gummies, hard candy, chewing gum, and cross-sections of fruit are preserved for wearing pleasure. I love them for the bright colors and nostalgia-factor. They're a bit kitschy but that's what makes them great. The Fruit Stripe gum is really cute and makes you forget that that gum actually tastes really terrible. It might actually taste better covered in glitter resin. Did it always taste terrible? 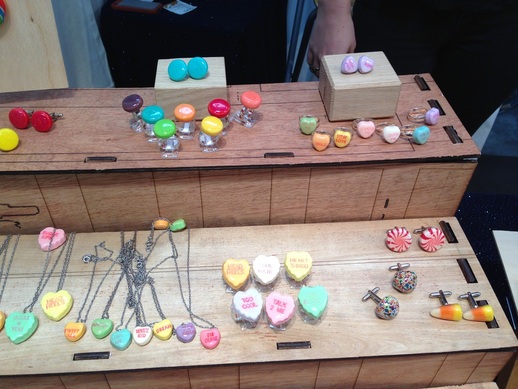
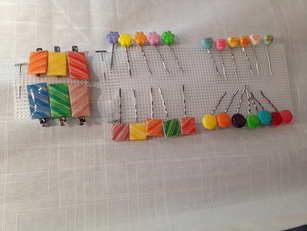 Spree, Conversation Hearts, candy corn, peppermints, sprinkle licorice, and more have all been remained as rings, earrings, necklaces, cufflinks, hair barrettes, and pins. Tuch started with Rock Candy (which was featured in Lady Gaga's Workshop at Barney's) and went from there. In addition to the newer candy pieces, she also works with various fruits, especially citrus, and some nuts, including metallic Jordan almonds. All the different fruits remind me of when my mom was dehydrating oranges and apples for her various crafts back when I was a kid. The dragon fruit slices, in particular, I find so interesting: Their white and black, or purple and black, centers with pink border and the irregular shapes are very eye-catching (left photo, center of the bottom shelf). What do you think of these sweet pieces?
images are my own Xx a 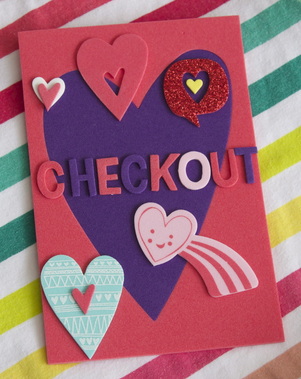
Over the weekend I helped my four year old make her valentines for her preschool class. Last year she was the only one that brought in handmade valentines. I know how busy everyone is, and it's certainly just easier and quicker to sign names on the pre-made cards with popular characters on them, but I'm really glad that we're still making our own, at least for now. 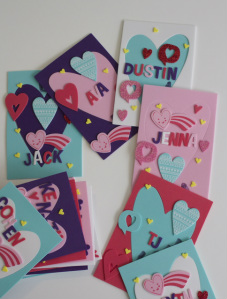 my daughter's valentines my daughter's valentines My daughter is really into art projects and sticker crafts. Every time I go through the craft store, I grab a pack of foam stickers so she can do her creative work. I saw this pack of foam valentines and stickers at Target for $5 and brought them home for her. I helped her a little, but I was really proud of how she carefully put her friends' names and the decorative stickers on each one. We had some pieces left over, which I obviously commandeered to make the valentine above. Last year, I found card stock shaped like large cupcakes (always a cupcake theme with her) and we put each kid's name on it in white foam stickers. Then I wrote "You're sweet, happy Valentine's Day" and then she signed them. Craft stores always have paper or foam in fun shapes and most have adhesive backing so you don't even need to mess with glue if you don't want to. I know there are a zillion cute ideas on blogs and Pinterest, and I really do like the one that looks like your child is busting a lollipop through from the second dimension into the third, but I think sometimes attaining (or thinking that you need to attain) that styled perfection can be more stressful than inspiring. If you're not into commercialized characters (I'm not) or spending a fortune and you want to spend a little extra time doing something hands-on with your kids, here are three ideas I literally came up with this morning while fully intending to post links to other people's great ideas. Parents of young ones probably have most of this on hand. I did not shop or pre-plan for this (which may be obvious when you see them), every last bit came from something I already had in my house. I've mentioned before I'm not super-DIY girl, so these are pretty simple. But that's the thing - these are little kids, they're not trying to reinvent the wheel. They just want to have fun: To them, punny sayings are still novel and giggle-inducing. And making something themselves gives them a sense of pride and extra practice on the motor-skills. So give yourself a break, mom and dad, and if you want to shoot for something slightly more ambitious than store-bought, try these: 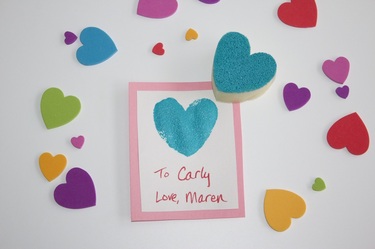 We happen to have foam shapes that we use when finger painting, but if you're handy with scissors and short on shapes, you could make a heart from an old kitchen sponge. I used finger paint to coat the sponge, pressed down, et voila. Then I simply pasted (I actually used double stick tape, but you can glue, too) the original square I cut out onto another colored sheet of construction paper. Your child can write the 'to' and 'from' names on it and leave as is, or embellish as he or she likes. 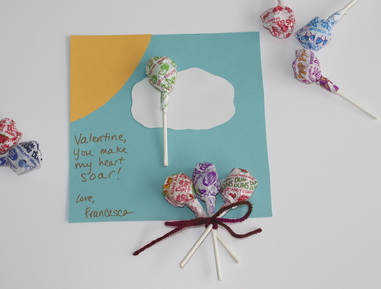 More construction paper and some left over lollipops here. But even if you don't have Dum Dums hanging around, they're only 10 cents each in the bulk bin, so it's really cheap. I cut out a 6 x 6 inch square of blue paper, a corner of a sheet of yellow paper to make the sun, and cut the cloud out of white paper. I glued the lollipops on with a bit of clear Elmer's to make it look like a balloon had escaped the bunch. I tied the yarn bow on after gluing, it was much easier than tying them first. Insert pun about soaring hearts, and you're done! 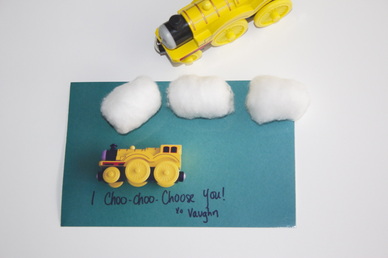 A take on one of my favorite valentines. This required the most work (i.e. tinkering with my printer). First I grabbed a toy train and a piece of green construction paper and wrote the message in black Sharpie. When you write your message, try to leave yourself at least a half inch border of blank space at the bottom. I propped up the train with a few small foam stickers so the wheels would look straight. I took a picture of the train on the paper and printed it out on 4 x 6 inch photo paper (make sure you choose the borderless option). Then I glued the cotton balls on the photo paper to look like the steam from the engine. If you don't want the valentine to be 3D, you could put the cotton balls on the construction paper and then take the picture before printing, getting basically the same effect. If you make any of these, let me know! images are my own
Xx a 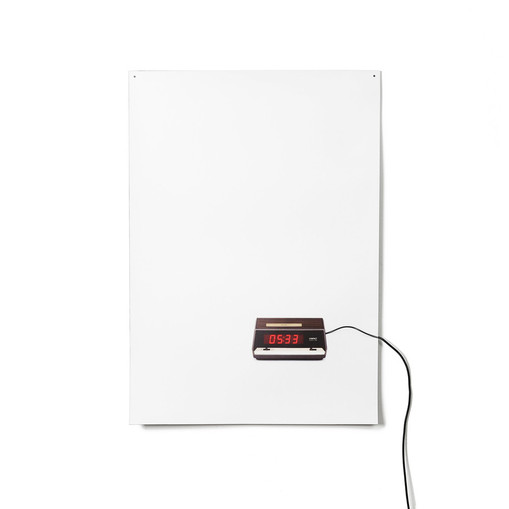
Since this is the time of year where people are pledging to get up earlier, go to bed earlier, or spend more time doing various noble pursuits, I was thinking about time itself and clocks. I came across the Flat Life clock, which is a few months old, and while it's probably more than I would spend for a wall clock, I really like the concept. A familiar retro-looking alarm clock image is printed on a very thin piece of plastic and by way of a power cord, the piece makes the transition from two-dimensional image to three-dimensional product that actually functions (though it doesn't have alarm settings). I love the humor, originality, and simplicity of this design and the way the cord trails off, bleeding out of the image and into real life. If you like it, too, you can also check out the Flat Life light by the same designer: 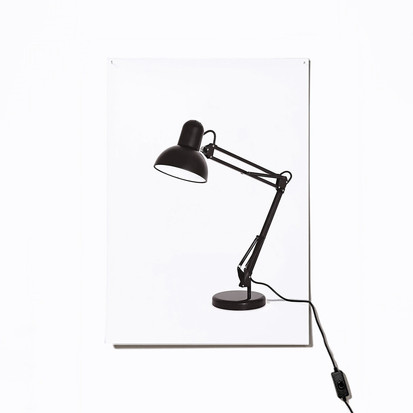
The beginning of a new year is a time for review, introspection, and setting new goals, especially during the month of January when everyone still has their eyes on the prize and hasn't yet hit any roadblocks. So if you're going to do some reflection, why not do it with these humorous mirrors by French artist and designer Nathalie Lété.
Made of acrylic and measuring 9x18 inches, these mirrors could go in a small powder room, or provide a smile (and a final check of your hair) as you head out the front door. The bearded gentleman and the Downton Abbey-styled lady are very on trend. I always like pieces with a sense of humor, and at the very least, you and your friends could get some amusing selfies out of them. images via fab Xx a 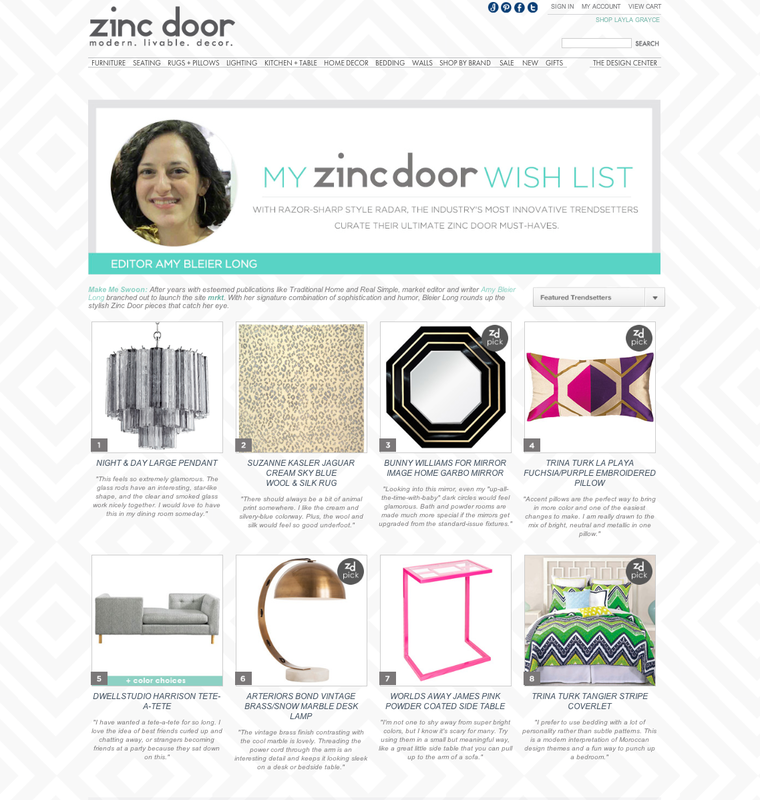
I am supremely honored to share that I am featured as a trendsetter on Zinc Door's feature Wishlists From The Pros. Zinc Door is a great decor resource and I've worked with them for years and it's been a pleasure. It was so much fun picking out these products, especially the tete-a-tete, which I desperately want, and the glass pendant (swoon).
Thank you Zinc Door for the opportunity! What a great way to start the new year! Xx a |
#checkout this blog with shop-themed puns
archives
August 2014
categories
All
© 2014 | mrkt
|


 RSS Feed